Planning and Installing a Permeable Paver Patio
September 29, 2026 · 7 min read
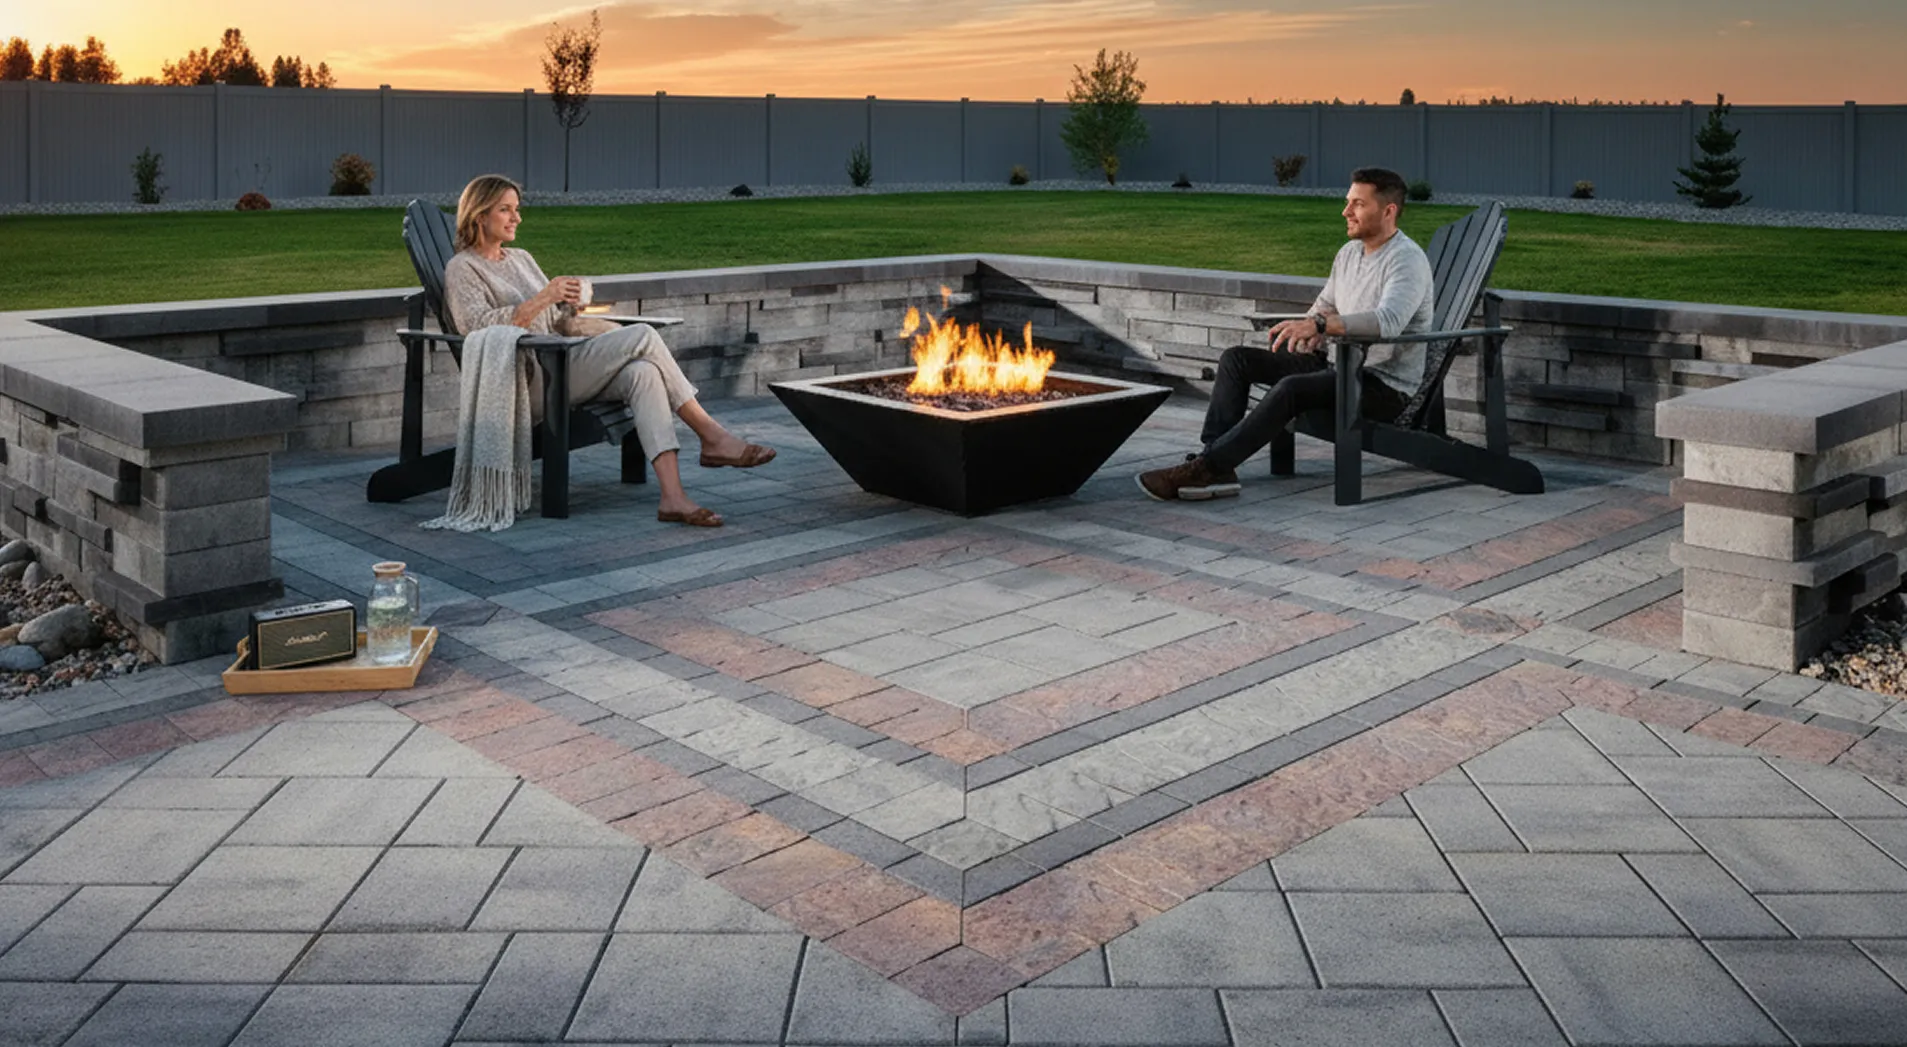
Late September is prime hardscape season across most climate zones. The summer heat has broken, ground soil remains warm and workable, and completing site work now allows the base to settle naturally before heavy winter precipitation arrives. If your property contends with standing puddles, tight municipal lot-coverage restrictions, or wet basements after fall storms, standard sand-set pavers or poured concrete slabs will only compound your drainage issues by directing runoff toward your foundation or neighboring lots.
A permeable interlocking concrete pavement (PICP) system flips that script by capturing rainwater directly at the surface and filtering it through multi-layered stone reservoirs into the subgrade. Building a permeable patio requires an entirely different aggregate strategy than traditional flatwork, trading out stone dust and sand bedding for open-graded, clean-washed angular chips. Getting the layering, edge restraints, and aggregate gradations right now ensures your outdoor living space stays dry, stable, and resilient against freeze-thaw shifting for decades.
Subgrade Excavation and Soil Infiltration
Your patio's ultimate longevity hinges on the soil beneath it. Before digging, run a standard percolation test: dig a hole 12 inches deep, fill it with water, let it drain completely, fill it again, and measure the drop per hour. Soils that drain faster than 0.5 inches per hour can easily support full exfiltration into the subgrade, while dense clay soils draining under 0.1 inches per hour will require an underdrain system tying perforated four-inch SDR-35 PVC pipe into an approved daylight discharge point.
Total excavation depth typically ranges between 10 and 14 inches for pedestrian patios, accounting for the reservoir base, setting bed, and paver thickness. Grade the excavated soil floor at a slight 1% to 2% slope away from the home's foundation to prevent water retention against basement walls. Compact the native subgrade with a vibratory plate compactor only if dealing with sandy or silty soil; over-compacting wet clay seals the microscopic pores and eliminates natural absorption entirely.
- Excavate 10 to 12 inches deep for pedestrian patios; increase to 16 to 18 inches for driveways.
- Maintain a minimum 10-foot distance between the infiltration zone and your home foundation.
- Line the sides of the trench with non-woven geotextile fabric (4 to 6 oz weight) while keeping the floor unlined in sandy soils to maximize drainage.
Open-Graded Aggregate Base Layers
Traditional patios fail under permeable conditions because concrete sand and screenings turn to mush when saturated. Permeable installations require open-graded, clean-washed angular crushed stone that contains zero fines or dust. The primary reservoir base consists of ASTM No. 2 or ASTM No. 57 stone (ranging from 0.5 to 1.5 inches in size), which creates a structural matrix containing roughly 30% to 40% void space for temporary water storage.
Spread the No. 57 stone in uniform four-inch lifts, consolidating each layer with a reversible plate compactor rated at minimum 5,000 pounds of centrifugal force. On top of this six- to eight-inch reservoir base, install a two-inch choker layer of ASTM No. 8 crushed angular stone (1/8 to 3/8-inch aggregate). This intermediate layer levels out the rougher reservoir base below and prevents the smaller bedding stone from migrating down into the structural gaps.
Edge Restraints and Subsurface Retention
Permeable systems lack the binding action of dense-graded aggregate, meaning your perimeter edges bear massive horizontal pressure. Standard thin plastic edging secured with ten-inch spikes into loose crushed rock will quickly push outward under pedestrian or furniture weight. Instead, install a poured-in-place concrete edge restraint or a heavy-duty mechanical aluminum restraint anchored directly into the consolidated stone base.
The most bulletproof perimeter method is a cast-in-place concrete curb buried below finished grade. Form a concrete beam that is six inches wide and six inches deep along the perimeter, setting it flush with the base of your paver course. This structural perimeter locks the stones tightly in place, prevents edge spreading during heavy rains, and stays hidden beneath turf or mulch once the surrounding lawn is re-established.
Paver Selection, Bedding, and Joint Filling
Permeable pavers feature enlarged vertical spacer nibs that create wide joints between 1/4 and 1/2 inch wide. Screed a flat, one-inch setting bed of clean ASTM No. 8 or No. 89 angular chip stone directly over your compacted choker layer. Do not compact this bedding layer prior to laying pavers; screed it loose with aluminum straightedges using one-inch steel electrical conduit as elevation depth rails.
Lay your permeable pavers in an interlocking pattern, such as a 90-degree herringbone, which resists horizontal shear forces better than running bond patterns. Once pavers are laid, sweep clean ASTM No. 8 or No. 89 stone chips directly into the joints until filled to the top surface. Run a vibratory plate compactor equipped with a protective polyurethane pad over the dry surface to vibrate the stone chips down into the joints, then sweep in a final pass of chips to bring the joint stone level with the paver chamfer edge.
- Avoid polymeric sand or masonry sand; they will instantly wash out or seal off water infiltration.
- Choose pavers with minimum compressive strengths of 8,000 PSI and water absorption rates under 5%.
- Keep finished paver surfaces 1/4 inch above adjacent grass edges to prevent lawn debris from washing into joints.
Maintenance Cadence and Clog Prevention
Because permeable joints act as continuous storm drains, atmospheric dust, tree detritus, and grass clippings will settle into the top half-inch of the void spaces over time. In autumn, clear fallen leaves promptly using a standard leaf blower or plastic rake; wet, decomposing foliage leaves organic tannins and fine compost that rapidly seals open joint chips. Never blow lawn clipping discharges directly onto a permeable patio surface during weekly maintenance.
Perform a thorough vacuum sweep once every two to three years using an industrial vacuum sweeper or a dedicated wet-dry vacuum with a flat nozzle attachment to extract the top inch of fouled aggregate. Replenishing clean ASTM No. 8 or No. 89 stone chips takes just an afternoon and restores the patio to its original infiltration capacity of over 100 inches of rainfall per hour. During winter, use plastic snow shovels and calcium magnesium acetate (CMA) rather than rock salt, which can degrade concrete aggregate surfaces and corrode underlying subsoils.
Cost Drivers and Sourcing Logistics
A professionally installed permeable paver patio typically costs 15% to 25% more than a standard sand-set paver patio. The primary cost drivers are deeper excavation, the need to dispose of substantial soil volumes, and the specialized washed aggregate required. Standard gravel pits often supply stone with fine quarry dust mixed in, so you must specifically order double-washed No. 57 and No. 8 crushed granite, limestone, or basalt to maintain clear void paths.
Expect material expenses to break down across three distinct categories: concrete pavers, specialty washed aggregates, and excavation disposal fees. While initial upfront costs lean higher, permeable construction frequently eliminates the need for catch basins, buried french drains, dry wells, and expensive municipal stormwater permit fees. For sloped yards or wet regions, solving drainage at the surface level consistently protects patio investments from settling and unseats long-term foundation repair bills.
Shop the parts mentioned
Ready to shop this category?
Thousands of products in stock — pay over time with Shop Pay on items over $50.
Shop pavers & hardscape