Building an All-Weather Outdoor Kitchen Island
October 15, 2026 · 7 min read
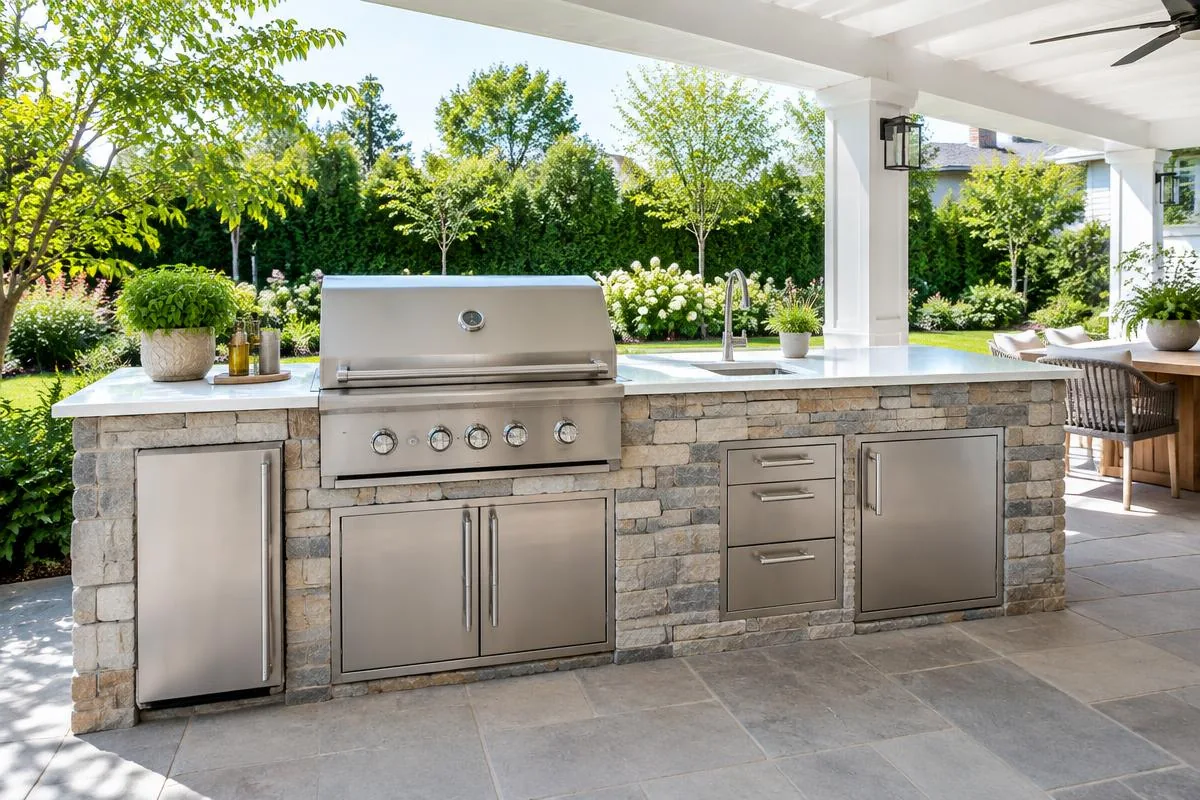
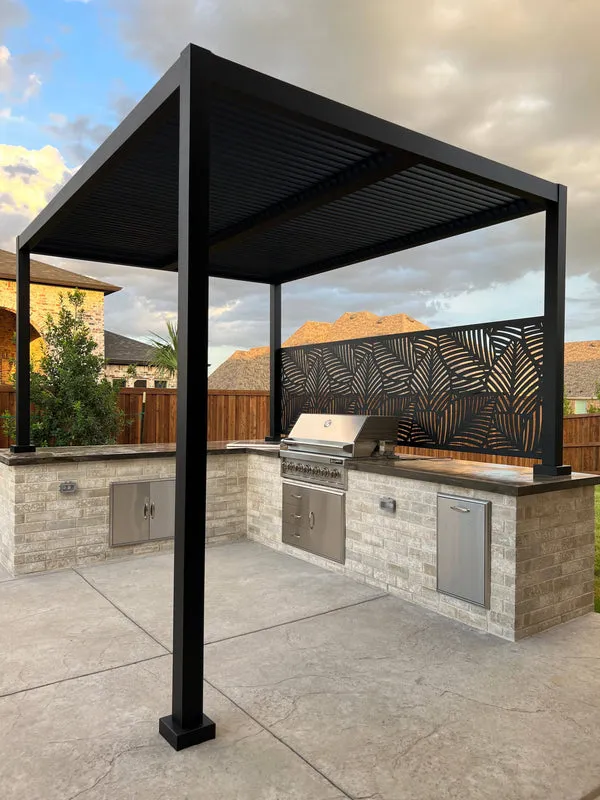
As temperatures drop in mid-October, backyard entertaining shifts toward hearty cooking, radiant heat, and low-maintenance prep stations. A properly engineered outdoor kitchen island extends your cooking season through late fall and winter without demanding hours of seasonal teardown. Homeowners are turning away from fragile custom-framed wood islands in favor of modular aluminum and marine-grade polymer chassis that resist freeze-thaw cracking and moisture damage.
Designing an outdoor kitchen that performs in every climate requires balancing appliance clearances, dedicated utility runs, and resilient surface selections. Whether you build on an existing concrete pad or pour a new slab, addressing thermal expansion, gas line volume, and perimeter GFCI protection early keeps your investment reliable and code-compliant for years to come.
Chassis and Substructure Selection
The backbone of an all-weather kitchen must handle moisture, ground movement, and extreme temperature swings. Welded 6061-T6 aluminum frames or heavy-gauge galvanized steel studs coated with zinc-rich primer offer superior dimensional stability compared to treated lumber, which warps and introduces a combustion hazard near built-in fireboxes. Marine-grade high-density polyethylene (HDPE) or modular cementitious core panels provide an inert substrate that will not rot, delaminate, or feed mold when wrapped around cold plumbing.
Your footing must support substantial weight once stone veneer and concrete countertops are set in place. A dedicated reinforced concrete slab with a minimum thickness of four inches and 3,000 PSI rating is standard, ideally poured over four inches of compacted gravel. If you are retrofitting onto existing pavers, you must lift the footprint and pour an isolated concrete pad or verify that the underlying sub-base can support point loads exceeding 150 pounds per square foot.
- Use welded aluminum or heavy-gauge galvanized framing to eliminate fire and rot risks.
- Require a four-inch minimum reinforced concrete pad for stability over winter frost cycles.
- Ensure all chassis hardware uses grade 304 or 316 stainless steel fasteners.
Sizing Utilities and Gas Supply
Undersized fuel delivery is the most frequent contractor error when outfitting multi-burner cooking suites. A high-output 36-inch gas grill, power burner, and built-in griddle can easily draw over 120,000 BTUs combined. If you tie into a residential natural gas line, pipe diameter must be calculated based on total distance from the meter; runs exceeding 50 feet generally require a one-inch corrugated stainless steel tubing (CSST) or rigid black pipe trunk to prevent pressure drops under peak demand.
For bulk liquid propane (LP) systems, install a dedicated two-stage regulator at the tank and ensure the propane storage compartment within the island is properly ventilated at floor level. Propane vapor is heavier than air, meaning unvented leaks collect in cabinet bases and create a dangerous ignition hazard. Never route electrical junction boxes through the same internal enclosure cavity where gas fittings or fuel shutoffs reside.
- Calculate total BTU draw to properly size gas line diameter over long trench runs.
- Ventilate cabinet bases near ground level to prevent heavy propane gas pooling.
- Install an accessible emergency quarter-turn shutoff valve outside the cooking island perimeter.
Electrical Layout and GFCI Protection
Outdoor kitchens demand dedicated circuitry to power rotisserie spit motors, undercounter refrigerators, internal lighting, and perimeter convenience outlets. Code mandates that every outdoor receptacle utilize ground-fault circuit interrupter (GFCI) protection and an in-use weatherproof cover (extra-duty rated). Run at least one dedicated 20-amp, 120-volt circuit through rigid PVC or liquid-tight conduit buried at least 18 inches below grade to handle kitchen appliances without nuisance tripping.
Outdoor-rated refrigeration units present unique challenges when ambient winter temperatures drop below freezing. Standard indoor compact fridges lack ambient-compensating thermostats and will burn out their compressors when outdoor temperatures plunge. Specify true outdoor-rated, UL-listed refrigeration units with internal heating elements or plan to disconnect, clean, and power down the appliance before the first hard freeze.
Countertops and Cladding for Cold Climates
Countertops in four-season outdoor environments endure relentless ultraviolet radiation, grease exposure, and freeze-thaw thermal stress. Sintered stone, engineered porcelain slabs, and dense natural granites with low absorption rates (under 0.2 percent) perform best because they do not absorb moisture that cracks during freezing cycles. Avoid polished white marble and quartz products manufactured with synthetic resin binders, which yellow from UV exposure and fracture under sudden temperature shifts.
For vertical island cladding, dry-stack natural stone veneer, porcelain cladding planks, or stucco over fiber-cement backer board deliver durable aesthetics. When installing adhered veneer, use an ANSI A118.15-rated polymer-modified mortar to maintain bond strength through sub-zero winter temperatures. Always install a self-adhered waterproof membrane over your substrate board before setting stone to prevent moisture migration from rotting internal components.
- Choose sintered stone, non-porous granite, or porcelain slabs over resin-based quartz.
- Use ANSI A118.15 high-performance polymer mortar to bond vertical exterior veneer.
- Apply penetrating silicone or fluoropolymer sealers to natural stone every spring and fall.
Ventilation, Clearances, and Winterizing Protocol
Every built-in grill installed into an island requires venting louvers mounted low and high on the island walls to allow convective airflow and exhaust combustion fumes. If your island features a wood-grain or composite rear backsplash wall, you must install an insulated stainless steel jacket around the grill chassis to isolate structural framing from extreme radiant heat. Failing to install an insulated jacket against combustible materials remains a primary cause of outdoor structure fires.
Winterizing your kitchen in late October prevents catastrophic freeze damage to plumbing and fixtures. If your island includes an outdoor sink or ice maker, shut off the interior supply shutoff valves, disconnect flexible supply lines, and blow out all remaining water with an oil-free air compressor at 30 to 50 PSI. Clean all grease trays thoroughly, condition stainless steel exterior surfaces with a food-safe protective oil, and fit heavy-gauge vinyl covers over grill heads to shield ignition electronics from freezing sleet and snow.
- Install an insulated heat jacket whenever dropping a grill into or against combustible framing.
- Blow out all outdoor sink lines and beverage center supply tubes using compressed air.
- Clean burners and grease trays before covering to eliminate corrosion and pest intrusion.
Shop the parts mentioned
Ready to shop this category?
Thousands of products in stock — pay over time with Shop Pay on items over $50.
Shop outdoor living