Planning a Built-In Gas Fire Pit for Your Patio
September 15, 2026 · 7 min read
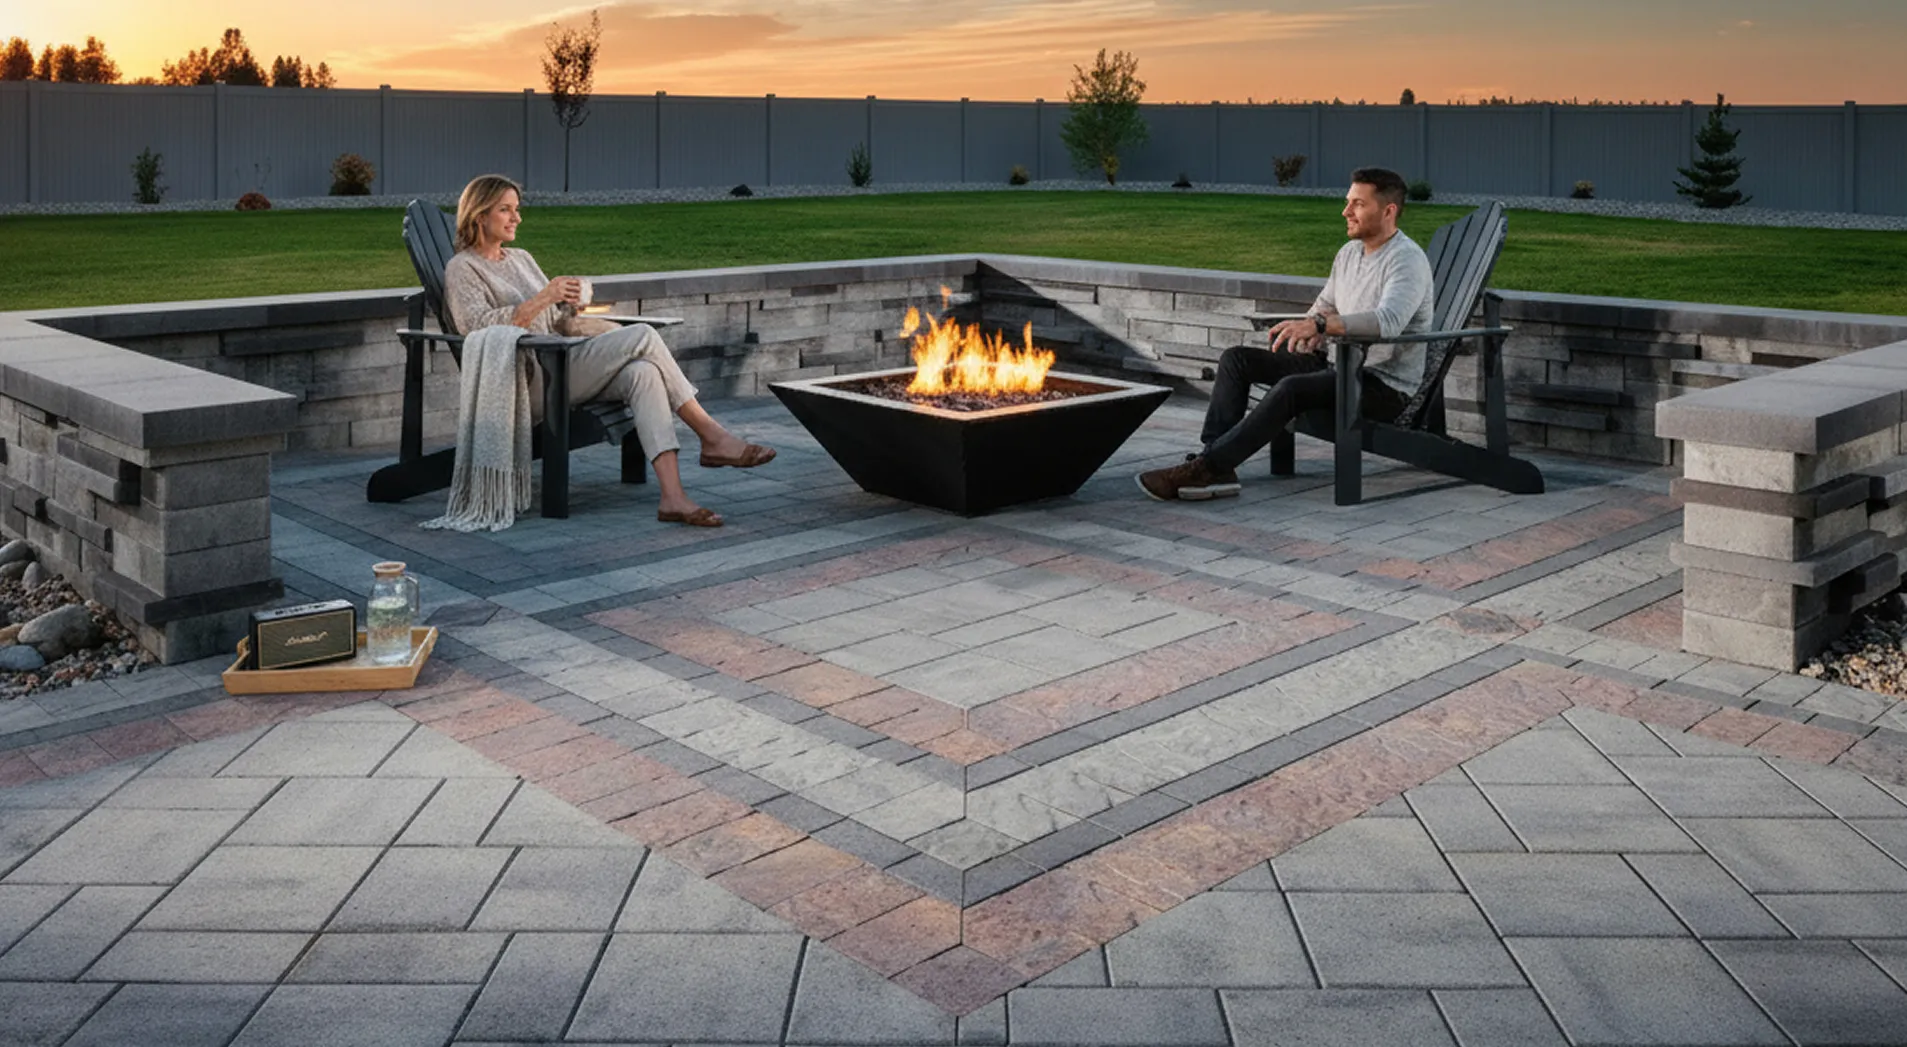
As evening temperatures drop in early fall, homeowners naturally look for reliable ways to keep their outdoor spaces functional without hauling cordwood or navigating shifting smoke. Built-in gas fire features have transitioned from boutique architectural additions to core components of modern patio renovations because they deliver clean, instantaneous heat with zero cleanup. Unlike lightweight portable fire bowls that corrode after a couple of wet seasons, a permanent masonry fire table or pit built on a reinforced footer provides an enduring anchor for outdoor entertaining.
Executing a custom gas fire pit requires close coordination between hardscape installers and licensed mechanical trades before the first concrete block is set. Sizing the burner appropriately, confirming whether your household gas meter has the capacity for an added 100,000 BTU load, and engineering cross-ventilation into the enclosure are non-negotiable technical requirements. Addressing these infrastructure considerations early prevents poor flame performance, moisture buildup, and expensive tear-outs once the surrounding pavers or stone coping are laid.
Choosing Between Natural Gas and Dedicated Propane
Your fuel source dictates trenching logistics, piping diameters, and operating expenses. Natural gas is the gold standard for convenience because it draws continuously from your municipal utility connection with no tanks to refill. However, delivering adequate volume to an outdoor burner requires a licensed plumber to calculate total household load against your meter rating, often necessitating an upgrade from a standard 250-CFH meter to a 400-CFH unit. Run lengths exceeding 50 feet typically demand 3/4-inch or 1-inch yellow poly gas pipe buried at least 18 to 24 inches deep, depending on local municipal frost lines.
Liquid propane delivers higher heat content per cubic foot than natural gas and burns hotter, but it introduces distinct engineering challenges. If you opt for an under-table 20-pound tank enclosure, burner output is physically constrained, and the tank will frost over rapidly in sub-50-degree weather under continuous high draw. Permanent high-output propane fire pits require an underground line feeding from a buried 100-gallon to 500-gallon bulk tank with dual-stage regulators calibrated to deliver 11 inches of water column pressure directly to the burner orifice.
- Natural gas requires pressure verification at 7 inches of water column.
- Propane requires dedicated air-mixer orifices to burn cleanly without soot.
- Underground poly runs require tracer wire for future utility locating.
Sizing Burners and Calculating BTU Demands
A common mistake in fire feature design is selecting an oversized burner that consumes fuel aggressively while producing excessive, unusable heat, or an undersized unit that fails to warm occupants sitting four feet away. Residential fire pits generally perform best with burner outputs between 60,000 and 150,000 BTUs per hour. Round or spur burners measuring 12 to 18 inches in diameter suit circular chatting areas, whereas 36-inch to 60-inch linear H-burners fit narrow patio footprints and double-sided perimeter walls.
Always specify 304 or marine-grade 316 stainless steel for the burner ring, pan, and mounting hardware to prevent premature rust and clogged gas ports. Avoid unvented flat plates that sit directly on blockwork; instead, install a drop-in pan with a 1-inch to 2-inch recessed lip and built-in drainage weep holes. These weep holes prevent standing rainwater from entering the burner manifold and flooding the gas supply line, which leads to whistling noises and delayed ignition.
- 60,000 to 90,000 BTUs: Ideal for ambient decorative tables and mild fall evenings.
- 100,000 to 150,000 BTUs: Recommended for genuine radiant warmth in brisk weather.
- Whistle-free corrugated flex lines are mandatory between the valve and burner pan.
Framing, Masonry Blocks, and Cross-Ventilation
The structural base of your fire pit must accommodate thermal expansion and moisture migration over years of weather exposure. For standard masonry builds, contractors set concrete masonry units (CMU) directly onto a compacted gravel pad or a 4-inch poured concrete slab poured below the paver surface. Alternatively, custom outdoor kitchen builders often use heavy-gauge welded aluminum or 20-gauge galvanized steel stud framing clad in exterior-grade cement backer board, which substantially reduces overall weight on existing elevated decks.
Adequate cross-ventilation within the hollow cavity is the most routinely overlooked safety requirement in DIY and budget builds. Propane gas is heavier than air and sinks; without ventilation, an unlit leak will pool inside the base until an ignition source causes a catastrophic explosion. You must integrate a minimum of two 18-square-inch vents on opposite sides of the structure, positioned within the bottom third of the enclosure for propane, or within the upper third for natural gas.
- CMU cores should be faced with natural stone veneer, porcelain tile, or stucco.
- Ensure the top coping stone has a minimum 1-inch overhang to shed water off the veneer.
- Never use landscape adhesive near the fire pan; use high-heat refractory mortar instead.
Selecting Media and Choosing Ignition Systems
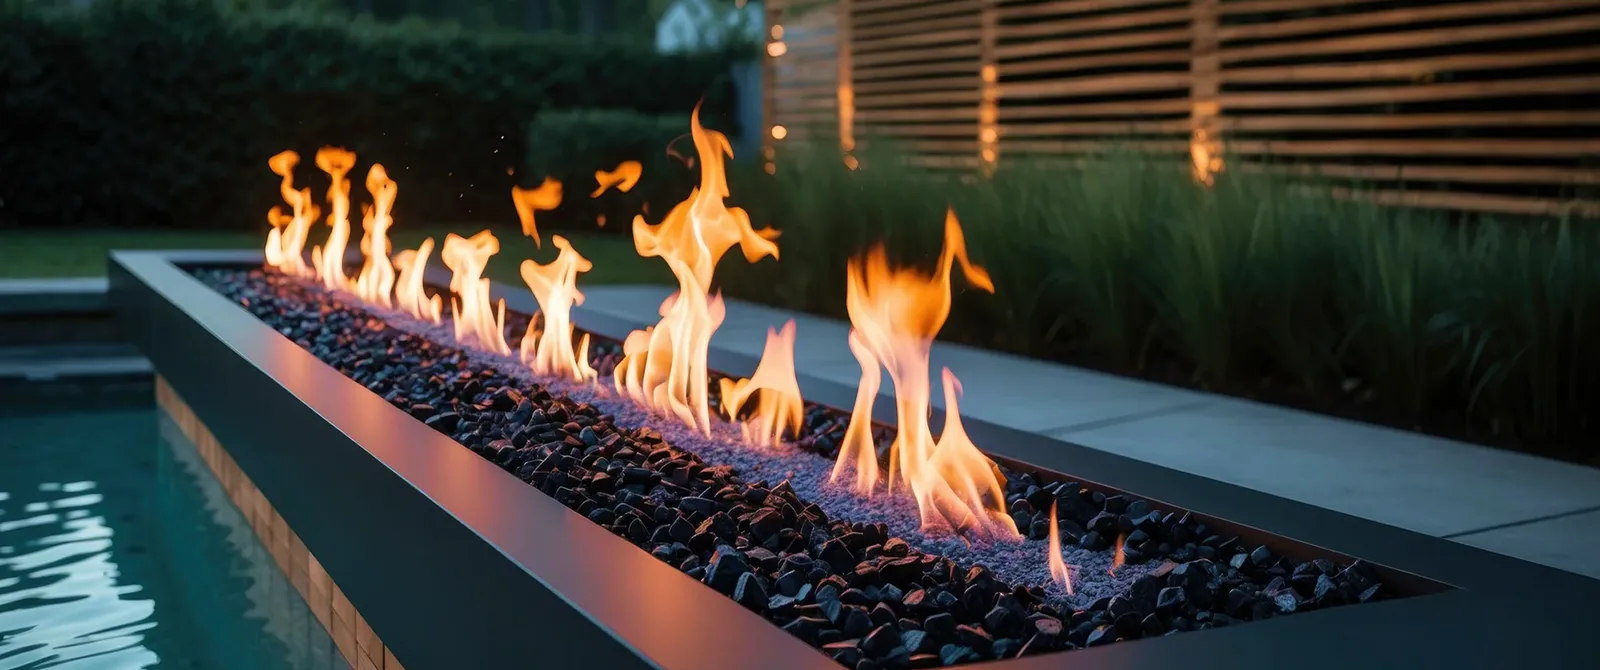
The decorative media placed over your burner pan does more than look attractive; it radiates heat outward and diffuses the raw gas flame into a natural pattern. Black volcanic lava rock provides the best thermal retention and an organic appearance, but it must be rated specifically for fire features to ensure it is moisture-free. Standard river rocks, landscape pebbles, or non-tempered decorative glass will trap internal moisture, expand rapidly when heated, and violently shatter.
For ignition, a manual match-lit system utilizing a quarter-turn brass ball valve and key shaft remains the most reliable and maintenance-free option for residential backyards. Direct-spark push-button systems offer push-and-turn convenience but frequently suffer from corroded battery terminals and worn igniter leads after winter freezes. If you plan to control the fire pit via pool automation systems, a wall switch, or a smartphone app, invest in an All-Weather Electronic Ignition System (AWEIS) with a 24V step-down transformer and hot-surface pilot assembly.
- Lava rock: Inexpensive, porous, superior radiant heat retention.
- Tempered fire glass: Reflective, modern aesthetic, requires occasional soot washing.
- Electronic ignition: Demands dedicated GFCI-protected 120V wiring to the vault.
Clearances to Combustibles and Permitting Realities
National Fire Protection Association (NFPA) codes and manufacturer installation manuals enforce strict setback distances to prevent structure fires. Fire pits must maintain a minimum horizontal clearance of 36 to 48 inches from combustible surfaces, including vinyl siding, wood-framed deck railings, and structural posts. Overhead clearances are even more critical: open fire features typically require at least 80 to 96 inches of completely unobstructed space above the burner rim, prohibiting placement beneath low patio covers, awnings, or dense tree canopies.
Never bypass local permitting requirements for gas line additions, as unpermitted gas work can void your homeowner insurance policy in the event of a thermal event. A standard mechanical permit involves an open-trench inspection where the gas pipe is capped and pressurized with air to at least 15 to 30 PSI on a test gauge for 24 hours to prove zero leakage. Once passed, the trench is backfilled, the final appliance hookup is completed, and the inspector verifies burner combustion and valve shutoff operation.
- Maintain 36-inch minimum perimeter clearance from outdoor furniture cushions.
- An accessible manual emergency shutoff valve must sit within 6 feet of the burner.
- Always cover the fire pit when not in use to keep debris and rain off the burner.
Shop the parts mentioned
Ready to shop this category?
Thousands of products in stock — pay over time with Shop Pay on items over $50.
Shop fire & water elements