Installing a Compact Hot Tub on an Existing Patio
September 19, 2026 · 6 min read
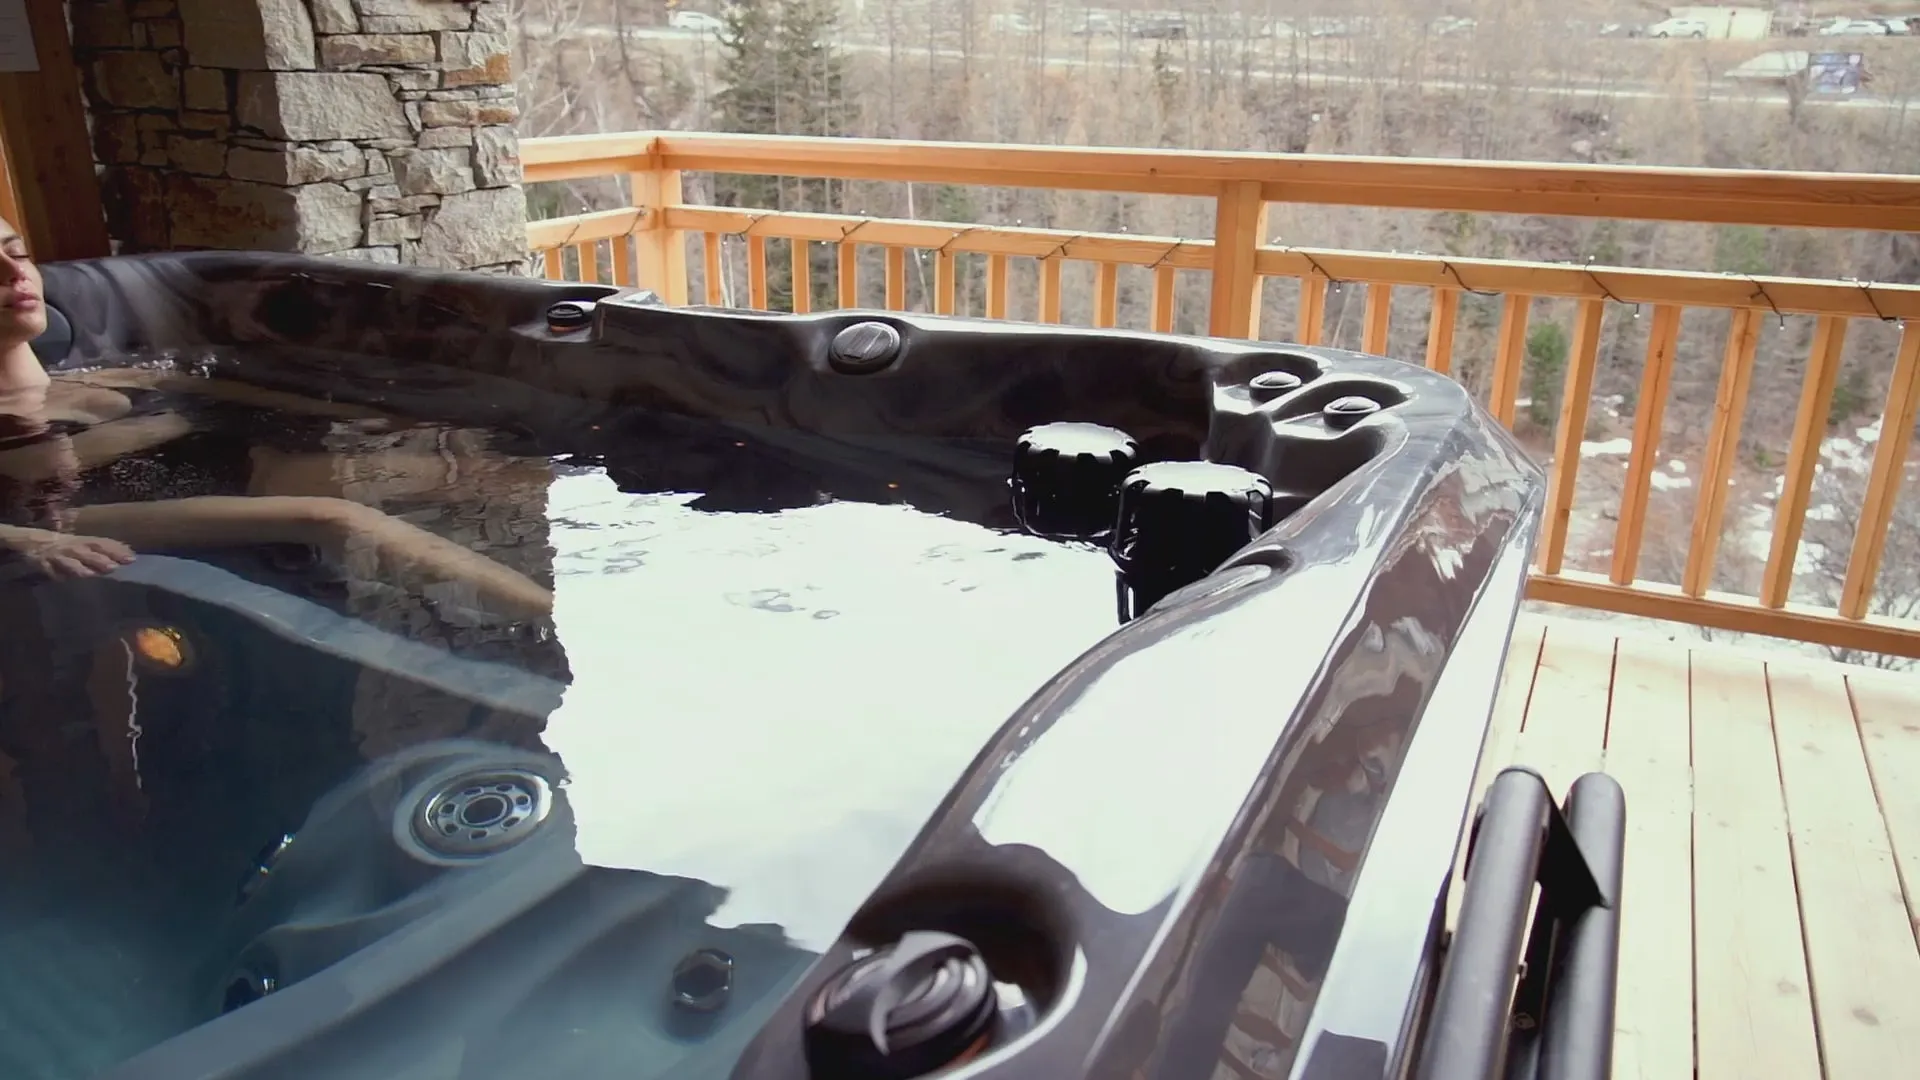
Late September marks the seasonal pivot from cool pool dips to high-heat hydrotherapy, driving strong demand for two- to four-person compact spas. Homeowners want the therapeutic benefits of hot water without consuming half their yard or undertaking a five-figure hardscape overhaul. However, placing several thousand pounds of water and equipment onto an existing backyard surface requires deliberate verification of load limits, wiring capacity, and perimeter drainage before the crane or delivery crew rolls in.
A dry spa shell rarely weighs more than 400 to 700 pounds, but adding 250 to 350 gallons of water immediately introduces 2,000 to 3,000 pounds of hydrostatic load, plus bather weight. Dropping that concentrated mass onto an uneven surface or an unreinforced thin-pour walkway will crack materials, pinch internal plumbing, and void factory shell warranties. Taking the time to evaluate structural bearing capacity, dedicated electrical hookups, and winter weatherization clearances guarantees your installation stays trouble-free through the coldest months.
Structural Verification: Evaluating Your Existing Base
A standard residential patio must support between 90 and 120 pounds per square foot under an operating compact spa. A poured concrete slab should be at least four inches thick, structurally sound without settling cracks, and poured over a compacted four-inch crushed stone sub-base. If your patio consists of concrete pavers or flagstone over a sand bed, you cannot simply place the spa on top, as the point loads will push pavers out of alignment and create pooling beneath the cabinet.
For paver patios, the correct retrofit involves lifting the pavers in the spa footprint, excavating down eight to ten inches, setting a level four-inch concrete pad flush with the pavers, and reinstalling border edging. Alternatively, you can install a structural high-density polyethylene equipment pad over thoroughly compacted aggregate if pouring wet concrete is unfeasible before freeze dates. Never attempt to shim or level a hot tub by sliding wood wedges beneath the shell, as this creates isolated pressure points that will crack the acrylic floor once filled.
- Minimum 4-inch reinforced concrete slab rated at 3,000+ PSI
- Uniform level tolerance within 1/2 inch across the entire footprint
- Permeable synthetic spa pads require a 4- to 6-inch compacted gravel base
- Direct installation over decking requires framing sign-off from a structural engineer
Power Delivery: Dedicated 240V vs. 120V Plug-and-Play
While entry-level compact hot tubs often ship with a standard 120-volt, 15-amp GFCI plug, they face severe operational limitations once ambient temperatures drop below 50 degrees Fahrenheit. A 120-volt system relies on a 1.0- to 1.5-kilowatt heater that cannot run simultaneously with the high-speed jet pump, causing water temperature to fall steadily during use. Converting to or selecting a native 240-volt, 50-amp system provides a 4.0- to 5.5-kilowatt heater that keeps the water locked at 104 degrees even in midwinter conditions.
Your electrician must pull continuous conductors—typically three #6 AWG copper wires and one #8 AWG ground—inside rigid PVC or liquid-tight conduit back to a dedicated subpanel. National Electrical Code (NEC) rules mandate an exterior GFCI disconnect box mounted between 5 and 50 feet away from the spa water's edge, clearly visible and unobstructed. Budget between $1,200 and $2,800 for the electrical installation alone, especially if your primary home panel lacks open breaker slots and requires a subpanel or line upgrade.
- Dedicated 50-amp, 240V GFCI breaker prevents unexpected nuisance tripping
- NEC code requires an emergency disconnect switch 5 to 50 feet from the water
- Liquid-tight metallic or non-metallic conduit buried at least 18 inches below grade
- Plug-and-play 120V models should only be considered for mild, non-freezing climates
Strategic Layout: Clearance, Privacy, and Wind Blocks
Positioning a compact spa is a balance between convenience, mechanical access, and microclimates. The equipment compartment door—where the pumps, heater, pack, and drain valve reside—requires a minimum of three feet of clear, unobstructed workspace for technician service. Shoving this panel directly against a fence line or brick exterior wall means the entire hot tub must be drained and physically disconnected if a pump seal fails.
Winter usability drops sharply if users must trek 60 feet across wet, freezing stones from the back door, so keep the walk short and well-lit. Look at your yard’s prevailing winter wind directions and take advantage of privacy fences, evergreen hedging, or slatted timber screens to break chilly drafts. Breaking the wind not only makes the soak substantially more comfortable but also cuts heater run cycles by up to 30 percent during windy cold snaps.
Water Drainage and Surface Sloping Realities
Most residential patios are built with a deliberate pitch—typically 1/4 inch per foot—sloping away from the home foundation to shed rainwater. Placing a square, rigid spa on a pitched patio creates an uneven water line inside the vessel, leaving higher jets partially exposed and fatiguing the cabinet frame over time. If your patio pitch exceeds 1/2 inch over an eight-foot run, pour a self-leveling topping slab or construct a dedicated leveled equipment pad to compensate.
Consider where 300 gallons of treated water will go when draining the spa every three to four months for regular maintenance. The water contains residual sanitizer, shock oxidizers, and dissolved minerals that can kill sensitive lawn grass, erode unpaved bedding, or back up into patio drains. Verify that your property allows safe discharge into the sanitary sewer cleanout or route water through a submersible pump and garden hose directly into a designated turf zone after neutralizing chlorine levels.
- Slope variation across the base must not exceed 1/2 inch total
- Neutralize chlorine and bromine to 0 PPM before draining onto landscaping
- Keep at least 10 feet of drainage path away from the home foundation
- Ensure surface runoff from patio pavers flows around, not into, the spa base
Fall Commissioning and Freeze Protection Protocols
Commissioning your spa in early autumn gives you ample time to balance water chemistry and confirm heater operation before freezing temperatures set in. Once filled through the skimmer cavity to avoid air-locking the circulating pump, balance total alkalinity between 80 and 120 PPM and pH between 7.2 and 7.6. Sanitizer levels should sit between 3 and 5 PPM for free chlorine or 2 and 4 PPM for bromine before setting the target temperature to 100–104 degrees.
Ensure your spa pack’s automated freeze protection mode is enabled in the software settings, which automatically triggers low-speed pump circulation if sensors detect ambient or plumbing temperatures dipping near 40 degrees. Invest in a marine-grade, high-density tapered foam cover measuring at least four inches in the center and two inches at the edges to retain rising heat. Inspect the marine vinyl cover skin monthly for micro-tears and apply a UV protectant spray to maintain the moisture barrier through winter storms.
Shop the parts mentioned
Ready to shop this category?
Thousands of products in stock — pay over time with Shop Pay on items over $50.
Shop spas & hot tubs