How to Plan and Install an Outdoor Backyard Sauna
September 15, 2026 · 7 min read
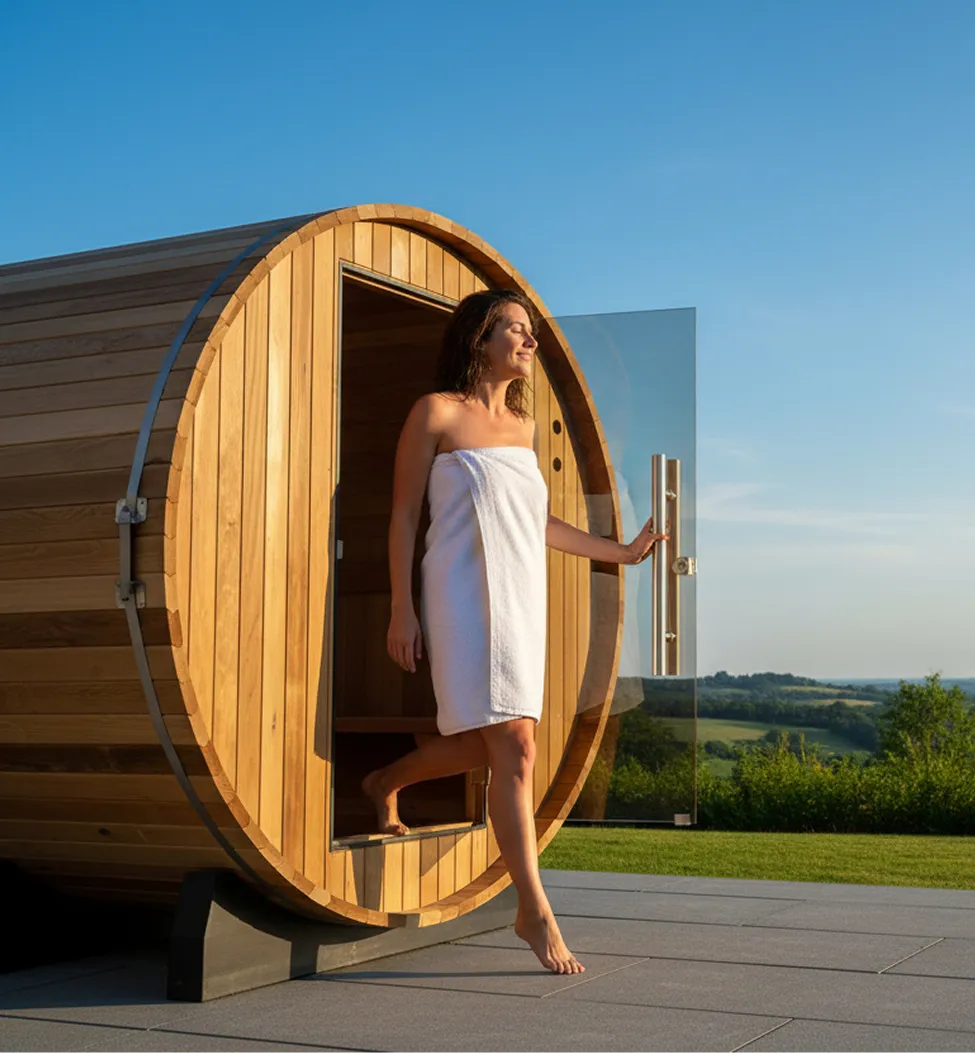
As fall temperatures dip, backyard sauna installations consistently spike across cold-climate markets. Homeowners are looking beyond seasonal patio furniture and investing in thermal wellness structures that deliver daily utility through the dead of winter. Whether you want a two-person barrel sauna tucked beside your deck or a standalone cedar cabin with an integrated change room, placing a hot room outside demands methodical planning.
A successful installation hinges on infrastructure rather than aesthetic upgrades. You have to account for dedicated high-voltage electrical service, a perfectly level and drainage-friendly foundation, and proper exterior weatherproofing. Treating an outdoor sauna like a simple plug-and-play appliance is the quickest route to tripped breakers, wood rot, and poor heat retention.
Selecting Traditional Rock vs. Full-Spectrum Infrared
Traditional electric and wood-fired saunas remain the gold standard for outdoor installations because they reliably reach temperatures between 175°F and 195°F regardless of the outdoor ambient temperature. These units heat dense igneous stones (like vulcanite or peridotite), allowing you to pour water over the rocks to create bursts of humid steam, known as loyly. Wood-fired stoves provide complete off-grid independence but require a dedicated stovepipe chimney installation, clearance from property lines, and compliant ember protection.
Infrared saunas rely on carbon or ceramic emitters operating between 120°F and 140°F to heat your body directly rather than superheating the ambient air. While infrared cabins are exceptionally energy-efficient and quick to warm up in moderate climates, uninsulated models struggle significantly when outdoor ambient air drops below freezing. If you choose infrared for an outdoor setting, select a dual-wall cabin specifically engineered with exterior-rated composite cladding and closed-cell interior insulation.
- Traditional electric: Reaches 185°F to 200°F; preheat time is 40 to 60 minutes.
- Wood-fired: Reaches 200°F+ without electrical utility; requires local chimney permitting.
- Outdoor-rated infrared: Maximum internal temp 130°F to 150°F; requires factory-insulated double walls.
Foundation Engineering and Drainage Details
Never place a prefabricated outdoor sauna directly on bare soil, lawn, or standard landscape pavers. A four-to-six-person sauna can weigh between 1,200 and 2,500 pounds empty, and uneven ground shifts can rack the door frame, causing significant heat loss through unsealed gaps. Your two best foundation options are a monolithic 4-inch reinforced concrete pad or a compacted, timber-edged crushed stone base at least 6 inches deep.
If you are placing the sauna on an existing wood or composite deck, inspect the joist layout before delivery. You need a structural engineer or licensed builder to confirm the framing can support a minimum dead-plus-live load of 50 to 60 pounds per square foot. Furthermore, remember that water tossed onto hot rocks eventually drips to the floorboards; ensure your subfloor or concrete pad has a gradual 1/8-inch slope toward an external drain path to avoid standing water beneath the footprint.
Electrical Sizing and Conduit Infrastructure
Most residential outdoor electric sauna heaters require between 6.0 kW and 9.0 kW of power, which necessitates a dedicated 240-volt circuit drawing 30 to 50 amps. Standard 120-volt household outlets cannot produce the wattage needed to heat an outdoor sauna cabin during freezing weather. You will need an electrician to pull appropriately gauged copper wire (typically 8 AWG for 30A up to 6 AWG for 50A) through rigid PVC or liquid-tight conduit buried at least 18 inches below grade.
Verify your home's main electrical panel has available physical breaker slots and surplus amperage before purchasing your heater. If your home runs on an older 100-amp main service, adding a 40-amp sauna load alongside a heat pump or electric vehicle charger will likely force a panel upgrade to 200 amps. Modern building codes also require an exterior weatherproof emergency disconnect switch mounted within line-of-sight of the sauna entrance.
- Heater sizing rule: Minimum 1 kW of heater output per 50 cubic feet of interior space.
- Breaker sizing: Dedicated 240V/40A circuit for standard 8 kW heaters; 240V/50A for 9 kW+ heaters.
- Conduit depth: Minimum 18-inch trench depth for PVC conduit under residential turf.
Lumber Species and Thermal Expansion Management
Western Red Cedar, Nordic Spruce, and thermally modified hemlock are the dominant wood choices for outdoor saunas due to their resistance to rot, fungal decay, and thermal distortion. Thermally modified wood (thermo-wood) has gained significant market share because the high-heat kiln baking process alters the wood's cell structure, reducing moisture absorption by up to 50 percent and preventing shrinkage during seasonal humidity swings. Avoid untreated pine or structural lumber, which weeps sticky resin at high temperatures and deteriorates rapidly outdoors.
If installing a barrel sauna, you must understand stave expansion and contraction cycles. The interlocking tongue-and-groove staves will swell during wet autumn rains and shrink during dry, hot summer stretches. Tighten the stainless steel compression bands until snug during initial setup, but inspect them every six months to loosen or tighten the tension nuts as moisture conditions dictate.
Ventilation Design and Seasonal Winterization
Proper airflow is essential for both bather safety and heater performance. A traditional sauna requires a two-point passive ventilation design: a lower intake vent cut directly beneath the heater to feed oxygen to the heating elements, and an upper exhaust vent located on the opposite wall about 12 inches below the ceiling. Without this pressure differential, cold air pools around your feet while hot air stalls near the ceiling, leading to premature heater thermostat cut-offs.
Winter maintenance for an outdoor sauna is straightforward but non-negotiable. Inspect your door gaskets and sweep seals each October to ensure cold drafts are not sneaking under the threshold. If you live in heavy snow zones, keep the roof clear using a soft-bristled foam roof rake to prevent unbalanced weight loads from cracking roof staves or compromising asphalt shingle underlayment.
- Lower intake: Position low behind or beneath the heater to introduce fresh combustion/element air.
- Upper exhaust: Position high on the opposite wall with an adjustable sliding louvre.
- Stone maintenance: Unpack and inspect sauna stones once per year; discard and replace cracked or crumbling rocks.
Shop the parts mentioned
Ready to shop this category?
Thousands of products in stock — pay over time with Shop Pay on items over $50.
Shop saunas